> ## Documentation Index
> Fetch the complete documentation index at: https://nango-tiktok-accounts-update.mintlify.site/llms.txt
> Use this file to discover all available pages before exploring further.
# Authorize APIs
> Retrieve, store and refresh access tokens for OAuth APIs in under 10 minutes.
Nango Cloud offers this feature for free and without limits.
This guide walks you through letting your users authorize external APIs directly from within your application.
## Step 1: Get Started with Nango
First, sign up for a free Nango account (no credit card needed):
[](https://app.nango.dev/signup)
## Step 2: Create an integration
Visit the [Add New Integration page](https://app.nango.dev/integration/create) and complete the form.
For the `Client ID` and `Client Secret`, you'll need to register your OAuth application on the developer portal of the external API you're integrating with.
To register your OAuth app, find your API within Nango's documentation and go to the `Getting Started` section. For example, check out [Notion](/integrations/all/notion).
When registering, the API provider will prompt you for the `Callback URL`. Use the one displayed at the bottom of Nango's integration page. Remember to also register the required scopes both with the API provider and within Nango's integration page.
## Step 3: Test your integration
Click `Auth` next to the integration to initiate the OAuth flow via Nango.
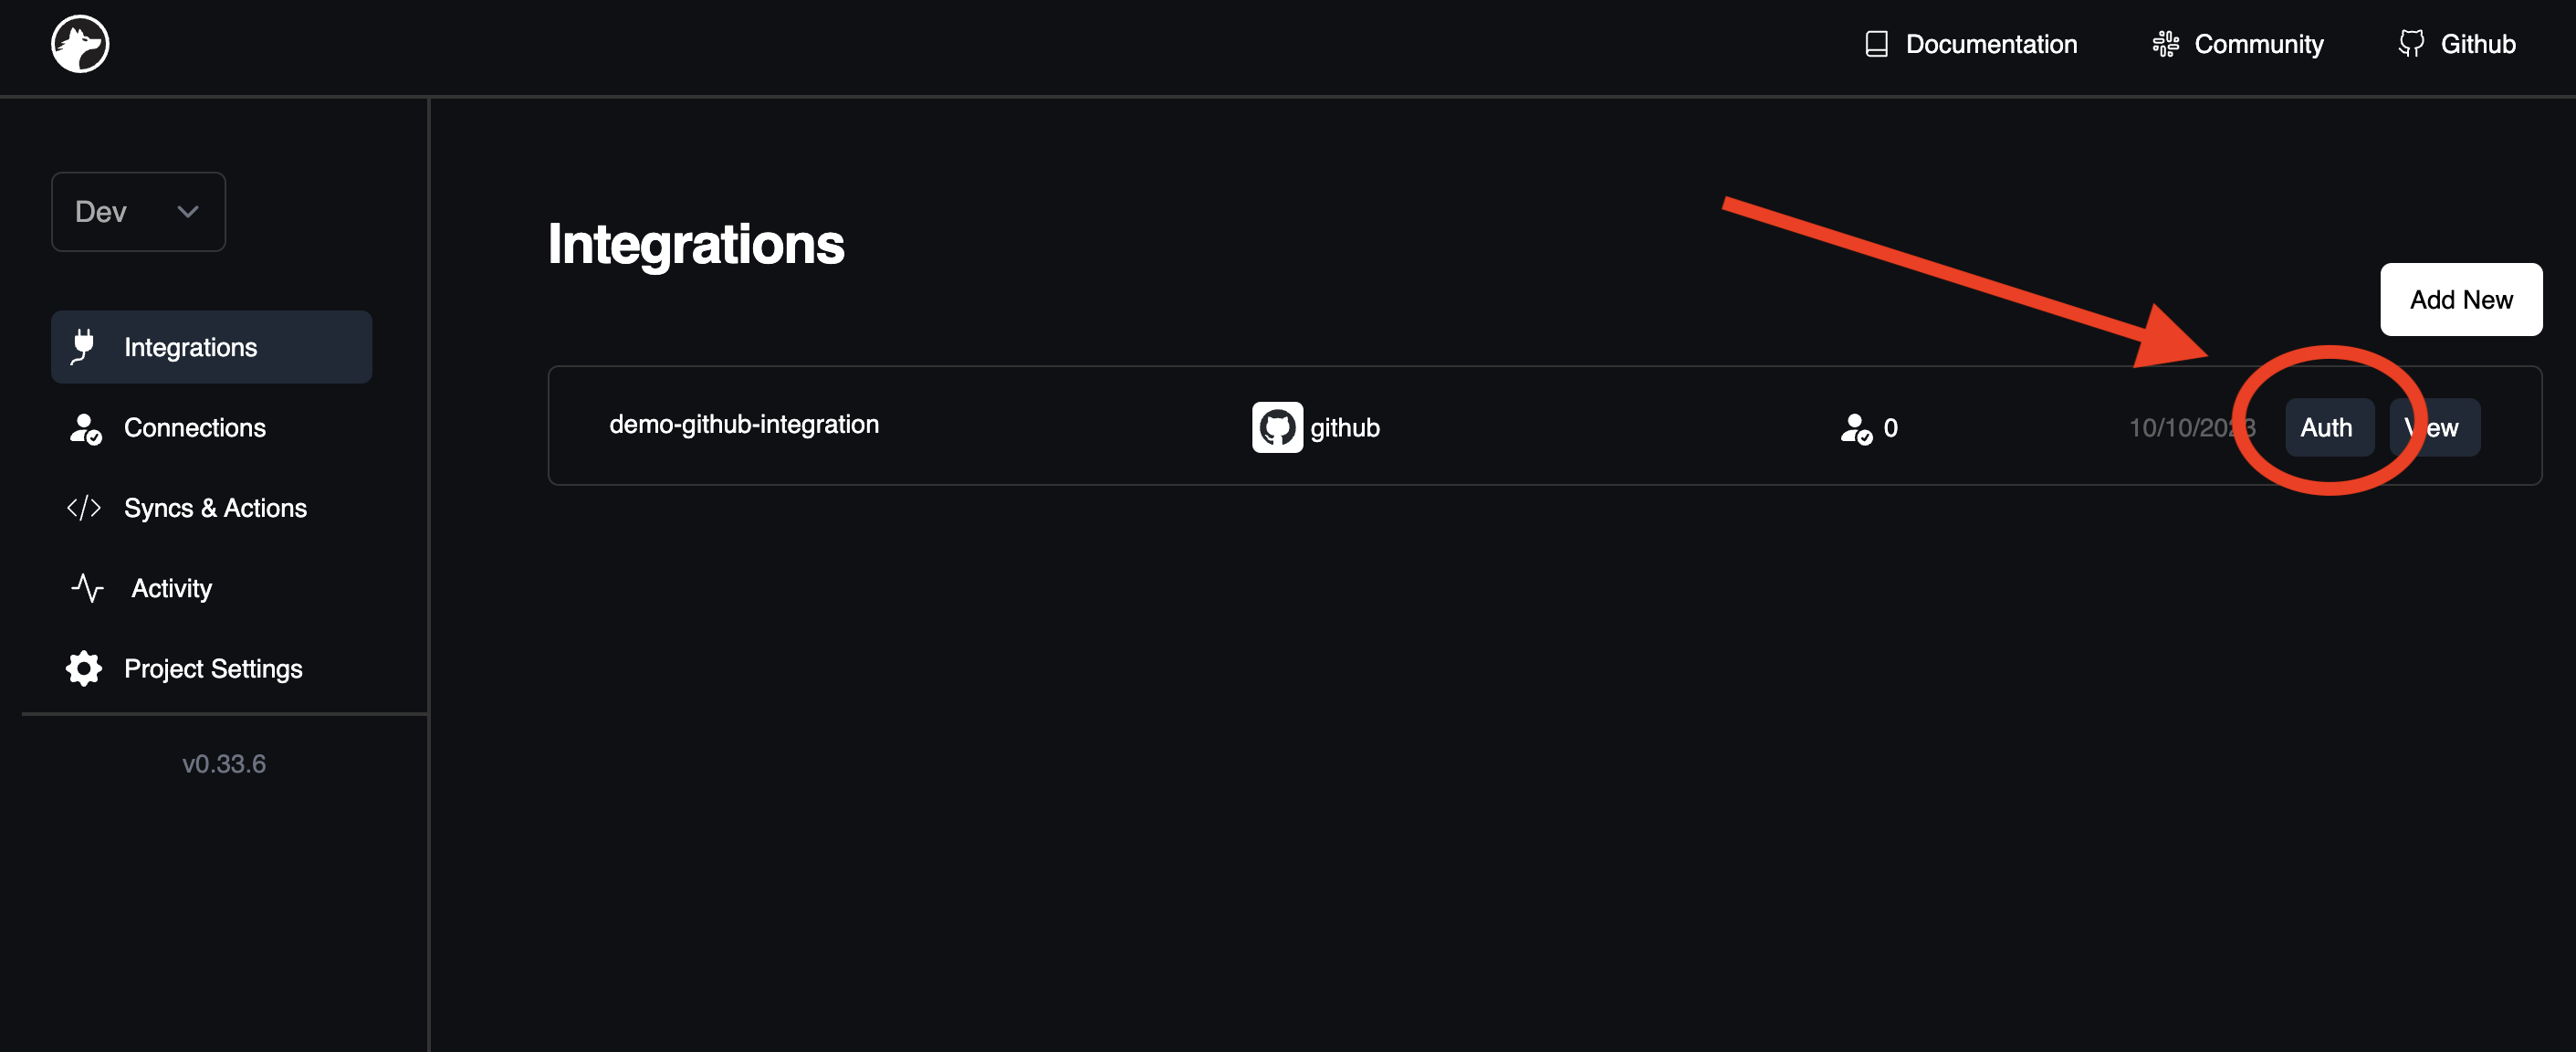 Once the API authorization is successful, retrieve your access token from the [Connections tab](https://app.nango.dev/connections). Well done! 🎉
## Step 4: Embed Nango in your frontend
To kick-start, install `@nangohq/frontend`. Then, utilize the code snippet provided on the [Add New Connection page](https://app.nango.dev/connections/create) (from step 3) to initiate OAuth flows from your frontend. Further details can be found in the [Frontend SDK docs](/sdks/frontend).
Here, the `` signifies a unique user connection to the integration within Nango. We suggest using a distinctive user ID or a similar identifier.
## Step 5: Access tokens via your backend
For backend operations, either our [Node SDK](/sdks/node) or [REST API](/api-reference/connection/get) can be employed to consistently fetch updated access tokens. These tokens enable you to query the external API.
* `` represents the name of your integration. Find it on the [Integrations tab](https://app.nango.dev/integrations) in the Dashboard, e.g., `slack`.
* `` corresponds to the Connection ID designated in step 4.
Transition to the [Project Settings tab](https://app.nango.dev/project-settings) to obtain the secret key necessary for fetching the credentials:
```bash
curl --request GET \
--url https://api.nango.dev/connection/?provider_config_key= \
--header 'Authorization: Bearer '
```
```ts
import { Nango } from '@nangohq/node';
let nango = new Nango({ secretKey: '' });
let creds = await nango.getConnection('', '');
```
## Next Steps
Dive deeper with the [Advanced Authorization guide](/guides/advanced-auth). Explore the [Synchronize With APIs guide](/guides/sync).
Looking for authorizing APIs with API keys or Basic auth? Here is the [related guide](guides/api-key).
## Questions, problems, feedback?
We are happy to help! Please reach out on the [Slack community](https://nango.dev/slack), we are very active there.
Once the API authorization is successful, retrieve your access token from the [Connections tab](https://app.nango.dev/connections). Well done! 🎉
## Step 4: Embed Nango in your frontend
To kick-start, install `@nangohq/frontend`. Then, utilize the code snippet provided on the [Add New Connection page](https://app.nango.dev/connections/create) (from step 3) to initiate OAuth flows from your frontend. Further details can be found in the [Frontend SDK docs](/sdks/frontend).
Here, the `` signifies a unique user connection to the integration within Nango. We suggest using a distinctive user ID or a similar identifier.
## Step 5: Access tokens via your backend
For backend operations, either our [Node SDK](/sdks/node) or [REST API](/api-reference/connection/get) can be employed to consistently fetch updated access tokens. These tokens enable you to query the external API.
* `` represents the name of your integration. Find it on the [Integrations tab](https://app.nango.dev/integrations) in the Dashboard, e.g., `slack`.
* `` corresponds to the Connection ID designated in step 4.
Transition to the [Project Settings tab](https://app.nango.dev/project-settings) to obtain the secret key necessary for fetching the credentials:
```bash
curl --request GET \
--url https://api.nango.dev/connection/?provider_config_key= \
--header 'Authorization: Bearer '
```
```ts
import { Nango } from '@nangohq/node';
let nango = new Nango({ secretKey: '' });
let creds = await nango.getConnection('', '');
```
## Next Steps
Dive deeper with the [Advanced Authorization guide](/guides/advanced-auth). Explore the [Synchronize With APIs guide](/guides/sync).
Looking for authorizing APIs with API keys or Basic auth? Here is the [related guide](guides/api-key).
## Questions, problems, feedback?
We are happy to help! Please reach out on the [Slack community](https://nango.dev/slack), we are very active there.